
You can purchase your desired Ultrahuman M1 Live Glucose Tracking plan via the Ultrahuman app or website. After payment, you’ll be redirected to fill out a mandatory medical consultation form which asks you a few questions about medical conditions, allergies, etc. This form is forwarded to our tele-health partners who are licensed in your state to approve the use of Continuous Glucose Monitors (CGM) through a prescription. This prescription is issued to you free of any charge.
You can check the status of your prescription with an estimate time in the Ultrahuman app or via email. If your order is approved, you will receive an email from us with confirmation and the tracking details of your shipment. In a rare case of non-approval, we will notify you via email and process a full refund for your order within 24 hours.
Why do I need a prescription to buy CGMs?
In the United States, purchasing CGMs requires a prescription. Ultrahuman simplifies this process by facilitating these prescriptions at no extra cost to you. After your purchase, we’ll ask a few health-related questions via a mandatory medical consult form. A licensed tele-health partner in our network will then review your information to determine your eligibility for CGM use.
If approved, we will manage the prescription process and dispatch your CGM within 3-5 business days.
In the rare event that the reviewing physician decides against approving CGM use based on your consultation, you will be informed via email. Additionally, a full refund for your order will be automatically initiated within the next 24 hours.
What causes my prescription to be rejected?
Reasons for prescription rejection include:
- Age: Individuals under 16 often require specialized care, making them unsuitable for online prescriptions.
- Medical conditions: All of the medical conditions listed on the medical consultation will lead to rejection. Providing accurate health information is essential.
- Unsupported US States: Residents of Arkansas, District of Columbia, Delaware, Idaho, Kansas, Louisiana, Mississippi, New Mexico, Rhode Island, and West Virginia need a synchronous tele health visit for online prescriptions, which we currently do not offer.
- Existing prescription: New prescription requests might be rejected if you currently have a valid, unexpired prescription. Always check the expiration date of your existing prescription beforehand.
How do I apply the Libre 3 CGM sensor?
Apply the sensor when you are completely fasted (preferably early morning) and avoid eating or drinking during the 60-minute warm-up period to ensure accurate calibration.
Application steps:
- Your Ultrahuman M1 Live package includes the sensor, applicator, alcohol wipes, and protective patches.
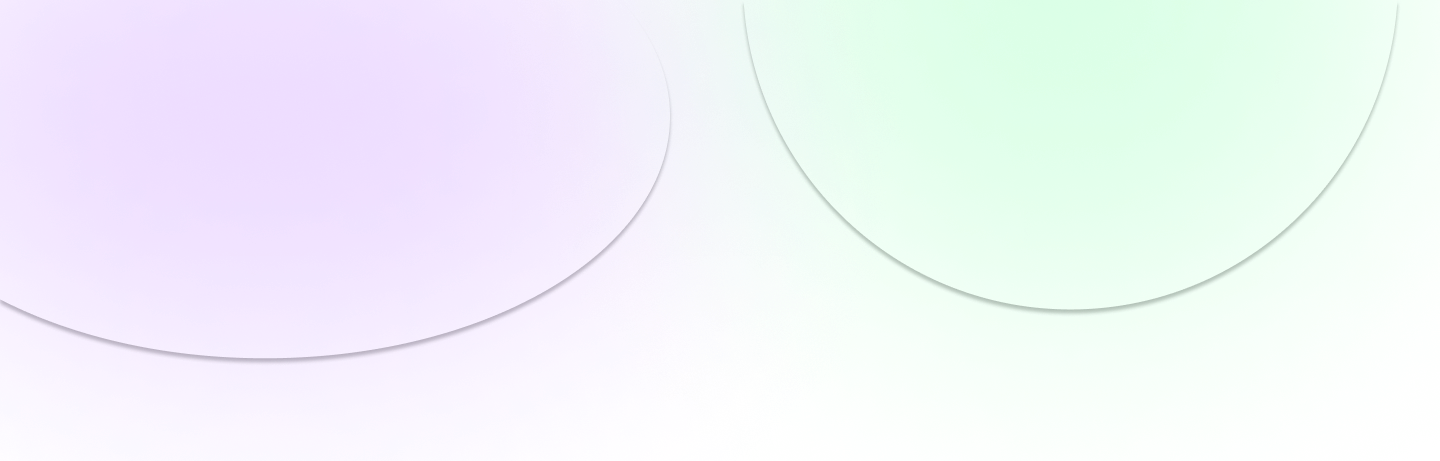
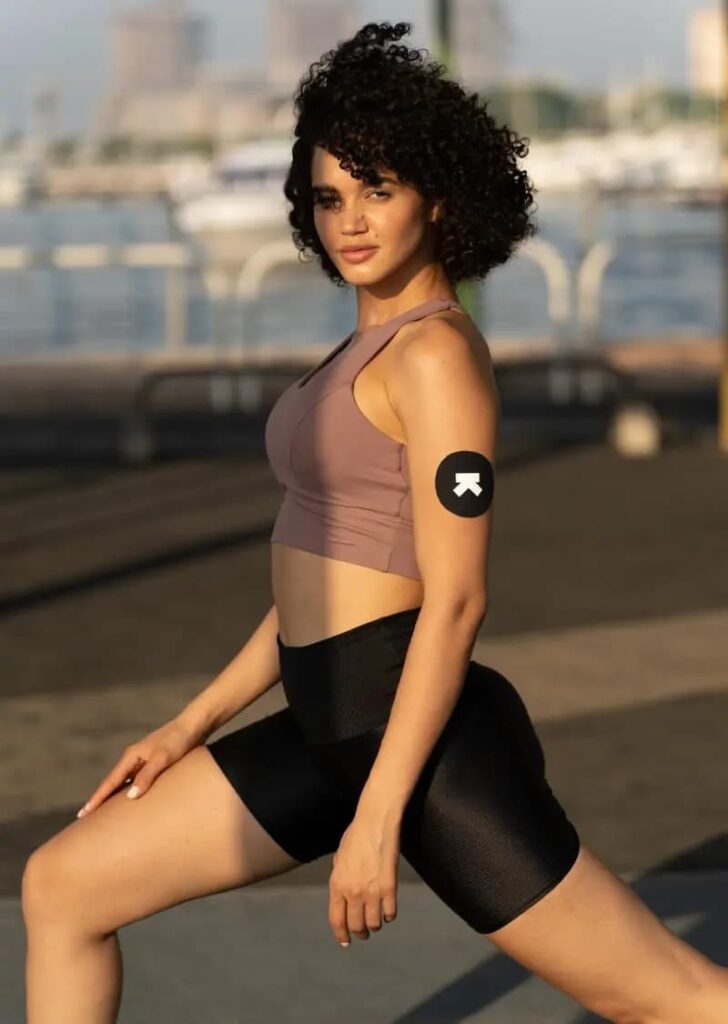
- Shave the application area thoroughly to ensure the sensor adhesive sticks properly. Hair may cause the sensor to detach.
- Avoid application over tattoos, scars, or stretch marks as these can interfere with calibration.
- Clean the application site with the provided alcohol wipes.
- Allow the site to dry completely (about 3-4 minutes) after wiping. Moisture can prevent the adhesive from sticking.
- Remove the cap from the sensor applicator, taking care not to touch the sensor filament.
- Position the sensor applicator over the site and press down firmly to apply the sensor.
- Gently remove the applicator, ensuring the sensor is securely attached. Dispose of the used applicator.
How can I pair with the Ultrahuman app?
After applying the sensor to your arm, open the Ultrahuman app and select “Have a sensor? Start now”. Follow the simple step-by-step onboarding process to get started:
- Download the Libre 3 app and set up your account Login with your existing Libre 3 account or create a new one. Be sure to use the same email on both Libre 3 and Ultrahuman app.
- Activate the CGM sensor on Libre 3 app Once the CGM installed on you, you can scan the sensor to activate it via the Libre 3 app.
- Connect the Ultrahuman app with the Libre 3 app Connect with Libre 3 via our plug in to seamlessly sync data into the Ultrahuman app.
That’s it. You’re all set! The integration should now be active. Once your sensor is warmed up (takes ~60 mins), you’ll begin to see glucose data on the Ultrahuman app.
Enjoy a no-scan experience. After the initial scan with the Libre 3 app, your readings will automatically update in the Ultrahuman app within 20 minutes without the need for any further manual sensor scans.
Data sync frequency with the Ultrahuman app
- Data from the Libre 3 app is transferred to the Ultrahuman app with a delay of 15-20 minutes through our integration partner, Terra.
- For a smooth experience, the last sync time is displayed in the Ultrahuman app.
- To ensure data reception, keep your Libre 3 app running in the background and keep your mobile device within 33 feet of your sensor.
How long does sensor calibration take?
The sensor typically requires 24 hours to complete its calibration process. Your readings should stabilize and populate after this period.
In the rare scenario where you believe the sensor hasn’t calibrated to your baseline effectively, you have the option to calibrate the sensor readings within the Ultrahuman app.
Here’s a step-by-step guide:
Calibrating the Sensor via the App:
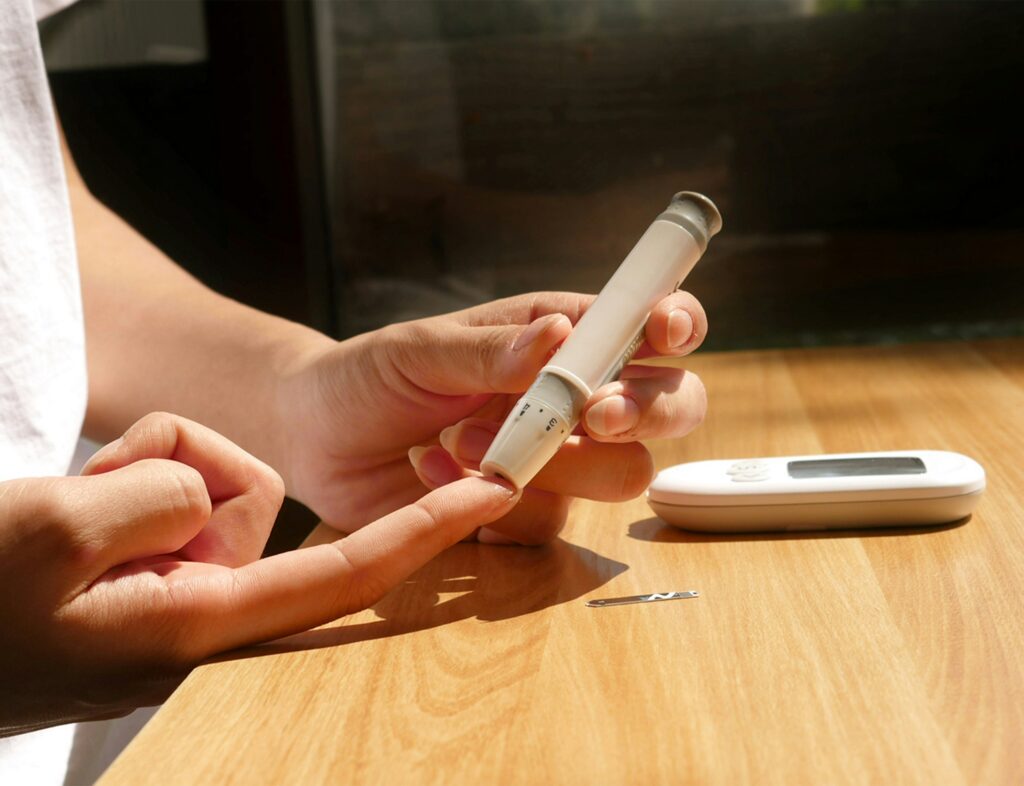
- Take a glucometer reading in a fasted state (4+ hours after a meal OR immediately upon waking up in the morning).
- Note the reading and the exact time it was taken.
- Navigate to the profile tab on the app and click on CGM settings.
- Select CGM Calibration.
- Initiate the calibration process and input the glucometer value.
That should complete the calibration process!
Important Note:
The CGM reads data from the interstitial fluid, resulting in a lag of 15-20 minutes. When comparing readings with a glucometer, always consider a +20 minute difference from the sensor readings. For instance, a glucometer reading at 12 pm should be compared with the 12:20 pm reading from the sensor.
Due to the 20-minute lag in your sensor’s data appearing on the Ultrahuman app, you will need to wait slightly longer to view your readings on the Ultrahuman app.
How to remove an expired sensor?
- Each sensor has a lifespan of 14 days and is not reusable. It can be used for a single 14-day period, after which it should be replaced with a new one.
- Once applied, the sensor should not be removed during the 14-day period unless you experience any pain or discomfort.
Here are the steps to replace your patch and sensor: Step 1: Peel off the Ultrahuman Patch, if you have it on.
Step 2: Gently start peeling off your sensor, starting from the edges, until it comes off.
Note: If you are having difficulty peeling off a sensor, you can loosen it by applying vegetable oil or baby oil to the adhesive present on the edges of the sensor, 10 minutes before removing the sensor.
Best time to apply your next sensor:
When you apply a new sensor, take care of the time at which you’re applying the sensor. Installing the sensor in a fasted state (for 4 hours or more, or as soon as you rise in the morning) is important as it improves the baseline accuracy of the sensor.
Is the Ultrahuman M1 Live eligible for HSA/FSA?
At present, the Ultrahuman M1 Live is not eligible for Health Savings Account (HSA) or Flexible Spending Account (FSA) reimbursement. Any future updates on this will be communicated to users accordingly.
How can I turn off the critical alarm on Libre 3?
We strongly recommend following these steps to minimize disturbances from the Libre 3 app critical alarm, especially during the night. Open the Libre 3 app, tap on the hamburger menu, and select “alarms.” By default, four alarms are enabled:
- Turn off the “Low Glucose” alarm.
- Turn off the “High Glucose” alarm.
- Turn off the “Signal Loss” alarm.
- Note: The “Urgent Low Glucose” alarm cannot be disabled in the US. To circumvent this alarm at night, please turn off your Bluetooth.
You may ignore the Libre 3 app’s prompt to reactivate alarms upon reopening. Once your glucose data begins to sync with the Ultrahuman app, it will continue to do so without activating low glucose alarms.
The Libre 3 sensor stores data for up to 14 days, enabling you to disable your phone’s Bluetooth at night without losing any data. Remember to turn Bluetooth back on in the morning to sync your readings with the Libre app and then to the Ultrahuman app.
Is my smartphone compatible?
Android Devices:
To ensure optimal performance and functionality with the Libre 3 app, your Android device must meet the following criteria:
- Operating System: Android 10 and above are the only supported versions.
iOS Devices:
For seamless operation of the Libre 3 app on your iPhone, make sure your device meets the following specifications:
- Supported Models: iPhone 7 and above.
- iOS Versions: The app is compatible with iOS versions 15.6, 15.6.1, 15.7, 16, and 17.
Note: It is crucial to update your device’s operating system to the specified versions for optimal compatibility and to access the latest features and improvements.
Before installing the Libre 3 app, ensure that your smartphone meets these requirements to guarantee a smooth and reliable experience while using the M1 sensors.
Accuracy
The FreeStyle Libre 3 sensor is designed to fit seamlessly into people’s lives, enabling users to discreetly check their glucose as often as they like without having to fingerstick often. This is a life-changing innovation that lets people live better and gain a deeper understanding of their glucose levels.
It utilizes proven technology that is accurate, stable and consistent for up to 14 days without the need to scan the sensor. Further, the sensor has an overall mean absolute relative difference (MARD) of 7.9%.
The gold standard for accuracy is a blood draw measurement. Both finger sticks and CGMs have error margins (MARD) to this standard. Finger sticks tend to be in the range of 5-10% MARD, while the CGMs have a MARD of about 7.9% over 14 days. Furthermore, finger prick devices also tend to have a variance between them.
It’s important to note that a finger prick reading represents a zone value, whereas the CGM reading essentially represents the area under the curve. Furthermore, CGMs measure from the interstitial fluid, which introduces a 20-minute phase-shifted delay compared to a finger prick blood reading.